A Behind the Scenes Look at My Greeting Card Sales
How I got to a point where I'm making regular Etsy sales.
ART BUSINESS TIPS
6/10/20257 min read
I’ve been selling greeting cards featuring my original artwork for about a year now. I started making cards because I wanted to share my art in a more affordable and accessible way — something people could still enjoy, even if they couldn’t invest in an original piece.
In this blog post, I’m sharing a behind-the-scenes look at how I make my greeting cards — from designing the templates to printing them at home or through an online print shop. I’ll also share some tips on selling them in my Etsy shop and how I get them ready to ship. Plus, I’ll talk about what’s worked for me, what hasn’t, and what I’ve learned along the way.

My Card Making Process
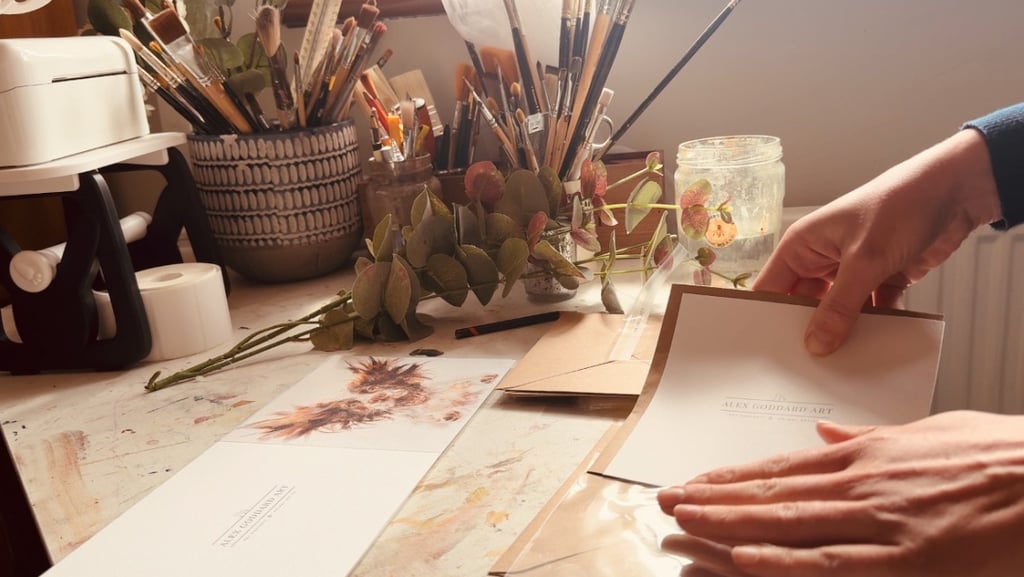
I’ll briefly walk you through my card-making process first and I'll go into more detail throughout the blog. At the moment, I photograph my original paintings using my iPhone, which works well for what I need. I edit the images in Affinity Photo, where I crop them, brighten the colors, and resize them to fit my greeting card templates. To find out more about how I edit the photos of my paintings, take a look at this blog post all about how I make my art prints.
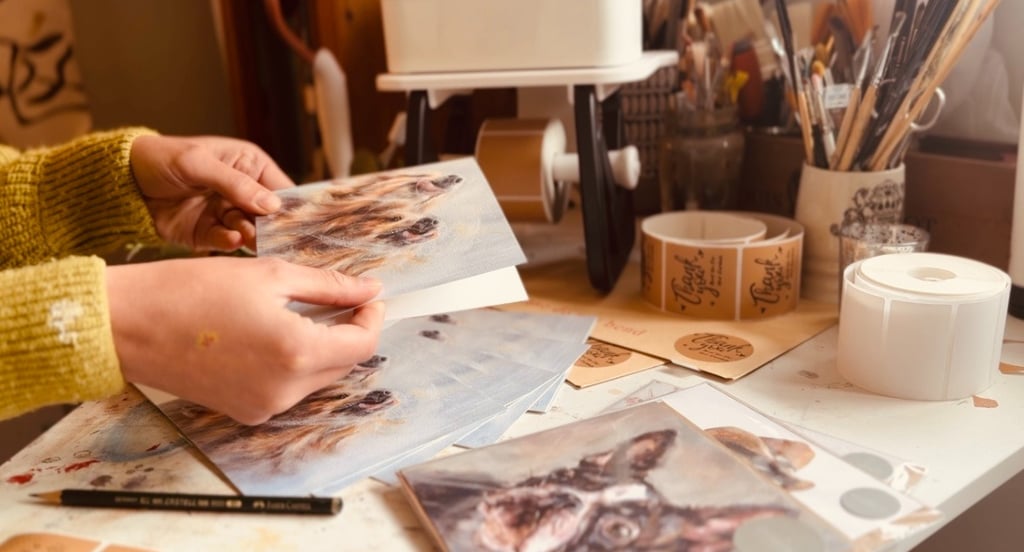
Up until recently, I was outsourcing the printing of my cards, but I’ve just invested in a home printer — I’ll talk more about that later! I package each card in a compostable sleeve with a brown kraft envelope. When I receive an order for a card I pop it into a C5 card backed 'do not bend' envelope. I print shipping labels using my thermal label printer and buy the correct postage online using Royal Mail. Once they're ready, I pop the envelopes into my local post box.

The Card Templates
Using photo editing software is a big help when designing your greeting cards — I highly recommend Affinity Photo, I have mentioned this quite a few times in my blog. It's great because it’s a one off cost which makes it more affordable than Adobe Photoshop, but still has all the features I need to make my cards.
It’s worth taking the time to create reusable templates that you can use again and again. Start by getting familiar with the standard card sizes available. A great way to do this is by browsing online print shops. I personally use Printed.com, but sites like Vistaprint also offer a variety of options. Head to their greeting card sections and check out the different size formats they provide — most of these are standard across the industry.
I chose a square format for most of my cards because it suits my artwork and I love the way it looks. Plus, it’s practical — standard sizes make it much easier to source envelopes and sleeves if you’re packaging your cards. This is especially important if you're printing from home, as you'll want everything to fit properly without too much trial and error.
Outsourcing Your Printing
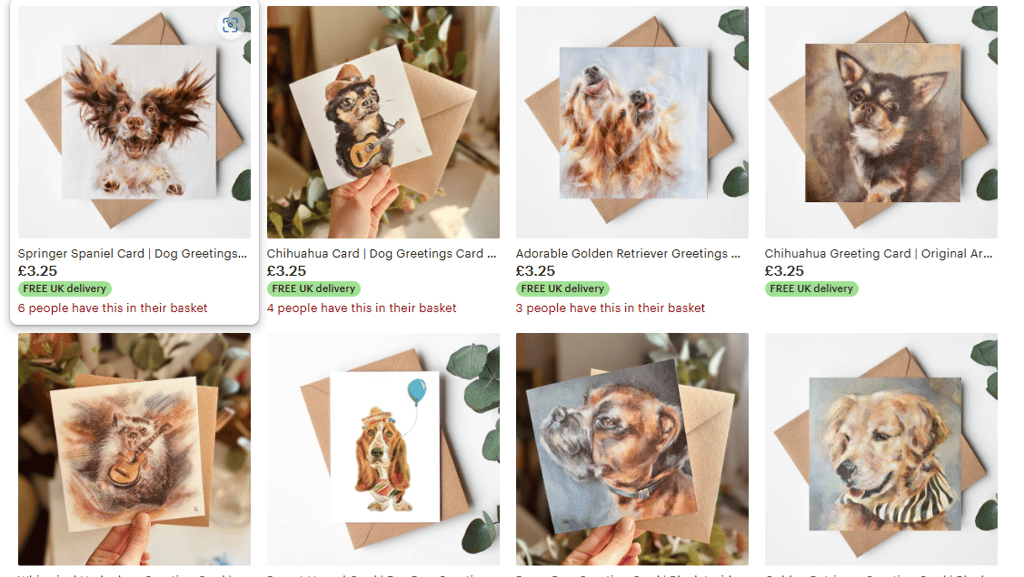
If you decide to use a print shop to print your cards, it’s definitely more cost-effective to order in bulk. The tricky part is, you won’t really know which designs will sell well until you test them — and in my experience, some cards sell much better than others. I recommend starting with a small quantity of each design. If one sells out quickly, you’ll know it’s worth ordering in larger batches next time, which will help lower your per-card cost.
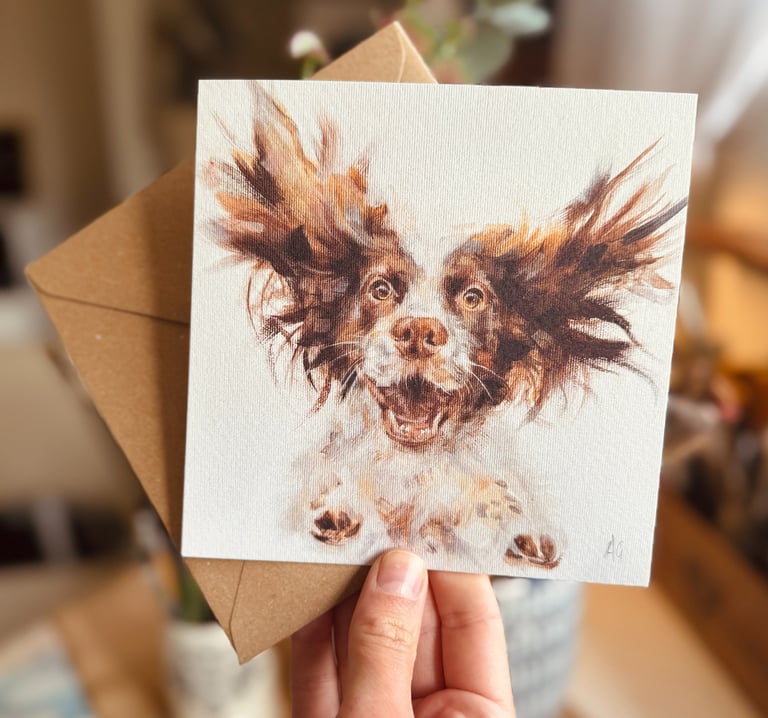
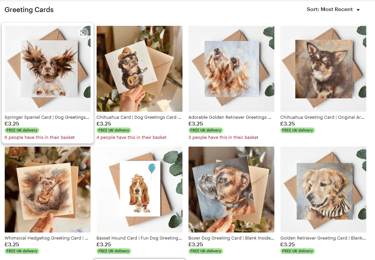
For example, my best-selling designs so far have been my English Springer Spaniel, Chihuahua, and Boston Terrier cards. So my advice is to experiment with a few different designs early on, then invest in a bigger print run of the ones that resonate most with your customers.
Printing at Home
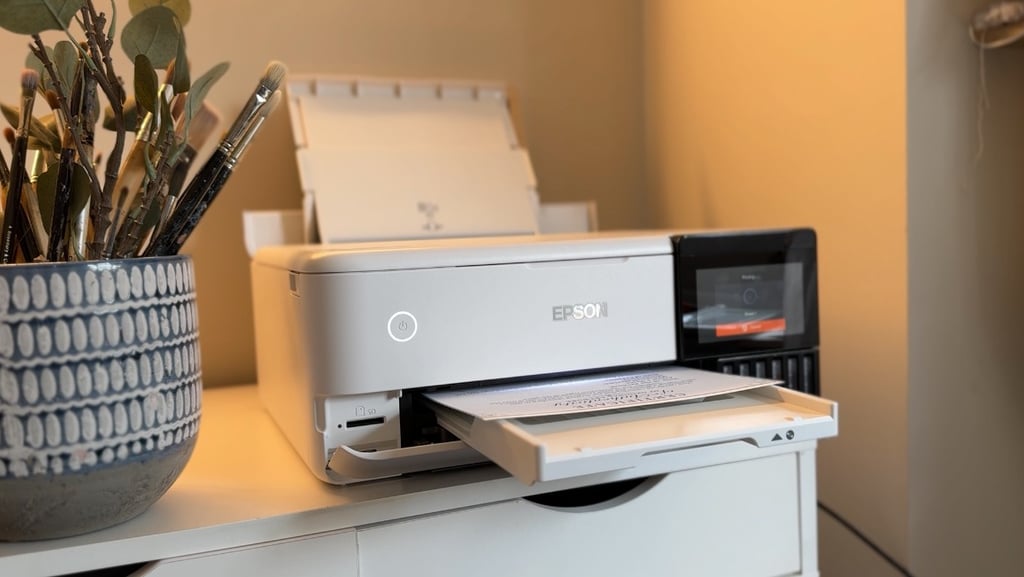
Another option to consider is printing your cards at home. Personally, it costs me around 20p per card to print them myself, compared to about £1 per card when I outsource — not including the initial cost of buying the printer, of course. I recently added the Epson ET 8500 Eco Tank printer to my studio specifically for printing my greeting cards and bookmarks. It took a bit of trial and error, but I think I’ve finally found the right settings for the type of paper and finish I prefer. If you would like to know the settings I use, please send me a message and I will be happy to share these with you.
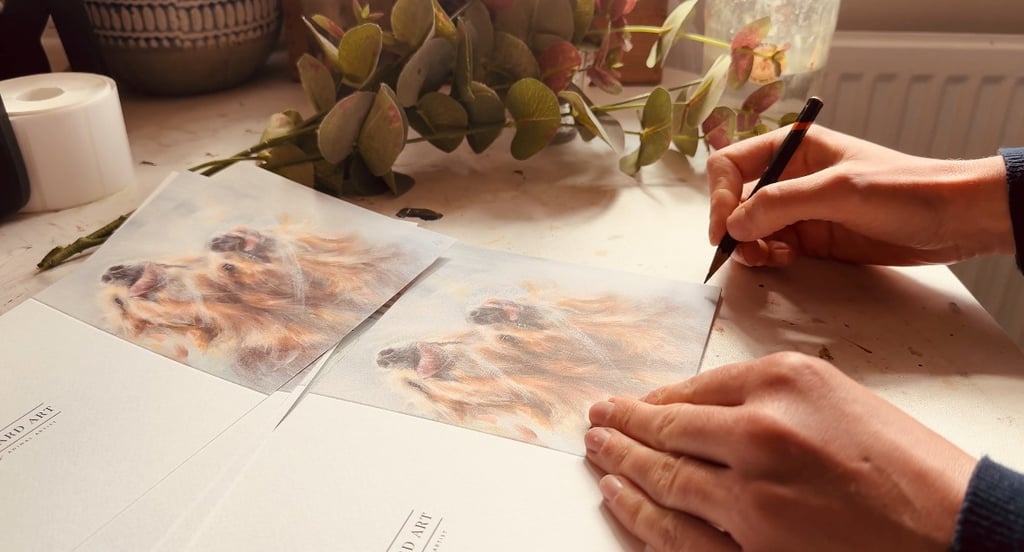
As for paper, I went with a matte, hammered finish — I found it complements my original painting style really well and gives the cards a more natural, artistic feel.

Taking Listing Photos
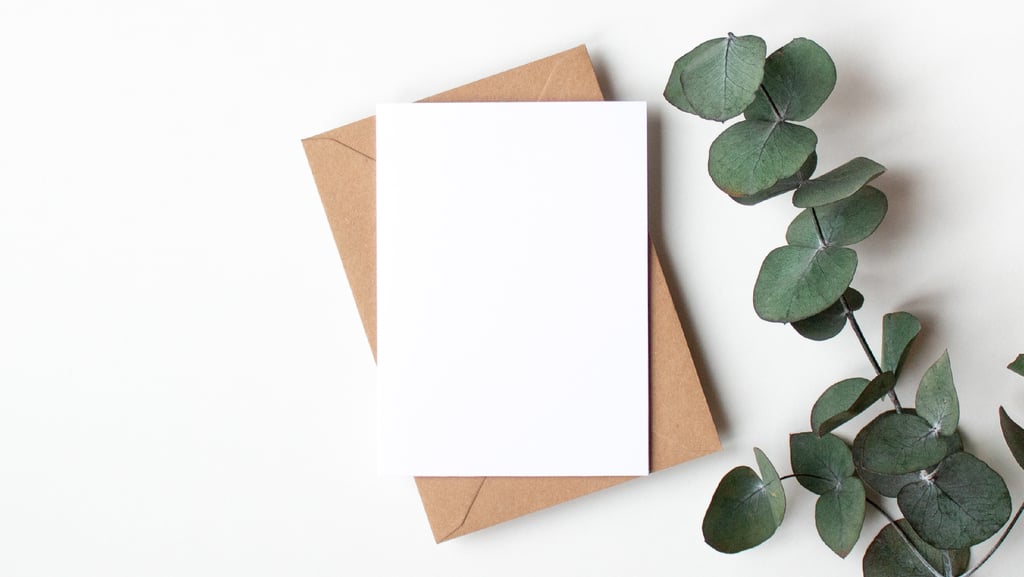
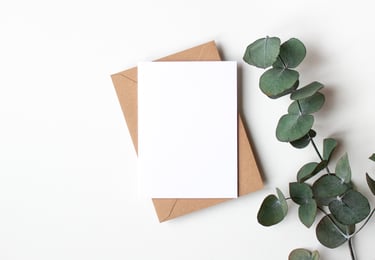
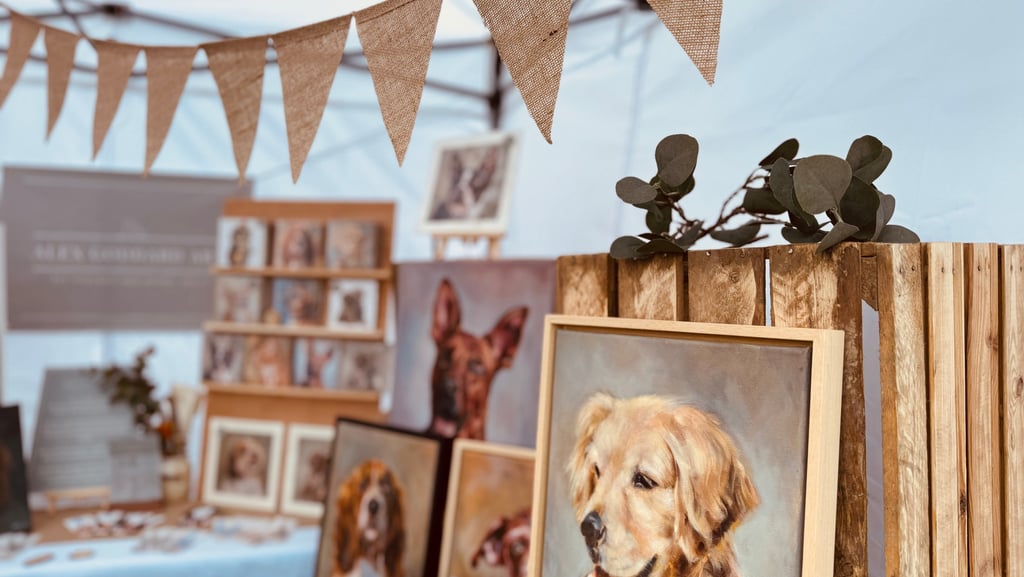
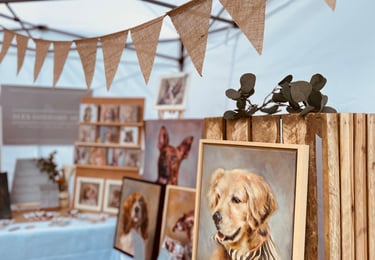
A couple of tips for taking photos of your cards for your Etsy listing. Firstly, use consistent, standardized backgrounds for your photos. I take mine in my studio, always using the same setup with faux foliage and paintbrushes in the background. Alternatively, you can purchase a mock-up from Etsy—these are relatively inexpensive and reusable. With a mock-up, you don’t even need to take photos; you can simply paste your card design into the template.
Pricing your cards
If you're trying to figure out how much to sell your cards for, my advice would be to research what similar cards are selling for, especially from other small businesses offering cards that are similar to yours. You can choose to sell your cards individually or in sets. Greeting cards often have tight profit margins, so every cost matters. Price your cards to cover all expenses—including cardstock, printing, envelopes, packaging, your time and labor, shipping fees (if included in your price), and the cost of your mailing materials.
There’s a lot of competition out there, and it can be tempting to underprice—but don’t. Your time and your artwork are valuable. Also, be sure to keep your pricing consistent across all platforms. I recently increased my prices from £3 to £3.25 per greeting card to account for a rise in postage costs set by Royal Mail. I'm actually selling more cards now than ever, so it's worth bearing in mind people will still buy your cards if they love them.
Selling Your Cards
I’ve experimented with a few different ways to sell my cards—in person at markets, through my website shop, and on Etsy. One day, I’d love to explore wholesale as well. Right now, Etsy is my most successful platform, so I wanted to share a few tips that have helped me along the way.
First of all, you don’t need a massive inventory to get started. I began with just a few designs and gradually added more. You don’t have to invest a lot upfront either—setting up an Etsy shop is free, and listing items is fairly inexpensive. Plus, Etsy handles a big part of the marketing for you, which is especially helpful if you're still building traffic to your own website.
When it comes to your listings, quality really matters. Make sure your photos are clear, well-lit, and showcase your cards beautifully. Write detailed descriptions and use plenty of relevant keywords to help people find your products. A tool I’ve recently started using is eRank—it audits your listings and suggests ways to improve them. This might include uploading more photos, adding alt text, or incorporating new keywords you hadn’t thought of. It even suggests keywords that could boost visibility.
Creating listings, taking great photos, and writing SEO-friendly descriptions—it all takes more time than I expected. So be ready for that, and think of it as a long-term investment. You might not see immediate results, but this is a marathon, not a sprint.
Shipping Your Orders
Finally, let’s talk about shipping—because, honestly, it can be a bit of a headache. Finding packaging that protects your cards without breaking the bank took some trial and error, but I’ve found that C5 card-backed mailers work perfectly for my needs. They’re sturdy, affordable, and just the right size.
I also like to include a small flyer inside each envelope thanking customers for their order and encouraging them to leave a review. At the moment, my shop has 43 five-star reviews, and those positive reviews really help boost your listing visibility—so it’s well worth asking for them.
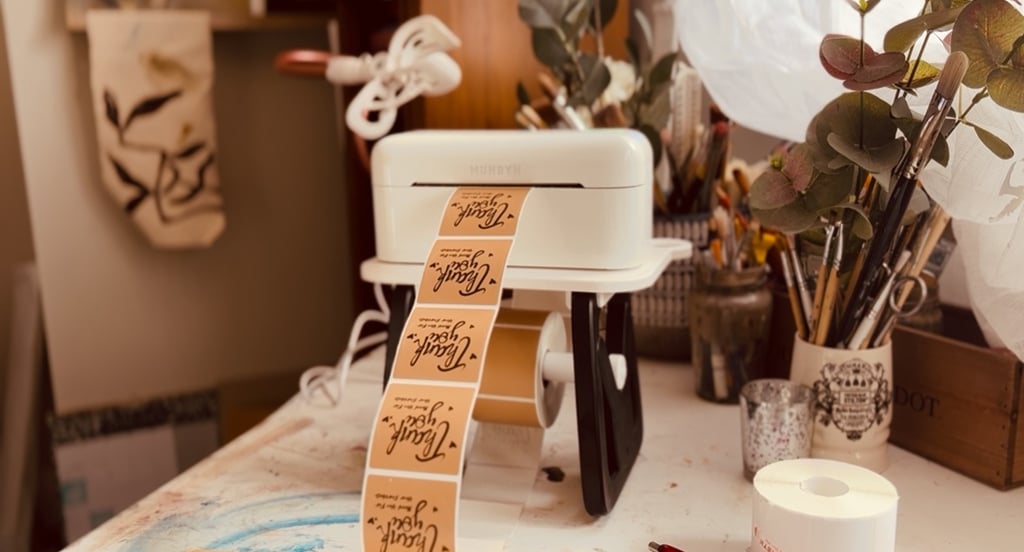
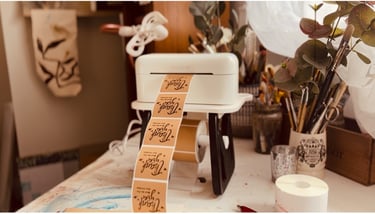
Enhancing the customer experience is another great way to stand out. I like to include a little thank-you sticker or note with each order. Now that I have my thermal label printer, it’s even easier to create and personalize these touches. I can print seasonal stickers—like Christmas or Halloween themes—which adds a fun, thoughtful detail.
Don’t forget to decide whether you’ll include postage costs in your listing price. Etsy currently favour shops that do, so it’s a good idea to make sure your prices cover shipping!

Final Thoughts
I hope you’ve found this blog post helpful! I’ve really enjoyed my first year of selling greeting cards—it’s such a rewarding feeling when someone chooses one of your designs, and now I’m at the point where I’m receiving several orders each week.
Here are my top tips:
You don’t need 50 plus designs to get started—just test a few and see what sells.
Presentation really matters—not just for your customers but also to improve the visibility of your listings.
And remember, results won’t happen overnight. It takes time to build up your inventory, figure out what resonates with buyers, and settle on the materials that work best for you.
Wishing you the best of luck!