How to Make Prints of Your Artwork Using Print on Demand
ART BUSINESS TIPS
5/14/20258 min read
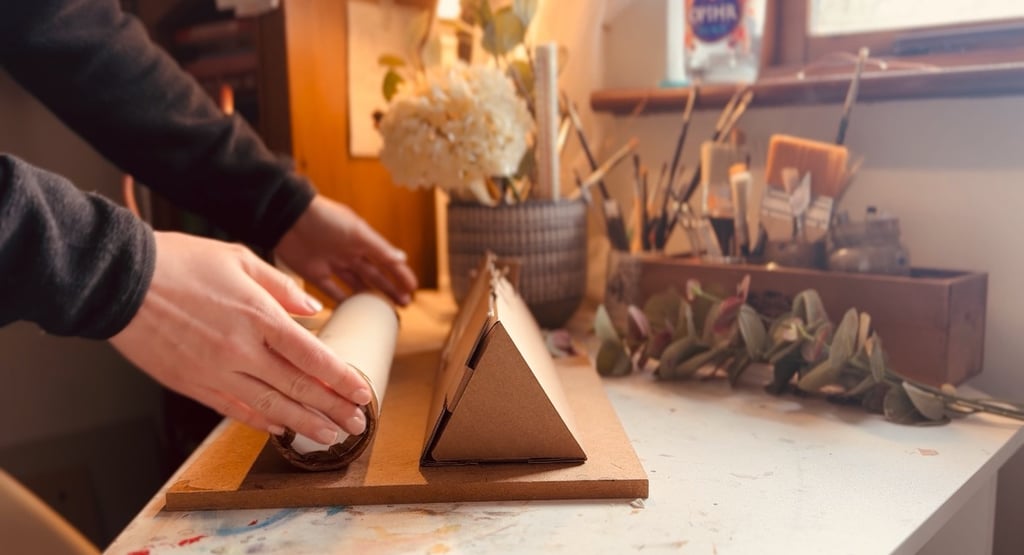
In this blog post I’m going to share how I turn my paintings into prints. I do have a printer at home that I use for printing my greeting cards and bookmarks, but it’s only able to print up to A4 size and I wanted to have the option to offer prints in larger sizes.
That’s one of the reasons I’m using the print on demand company Gelato to create my art prints. You can upload digital templates of your artwork and Gelato will arrange with local print partners to print these on your behalf and send directly to your customer. This makes international sales much easier, and once set up, it requires minimal effort on your part, there’s no print, packaging or shipping that’s all done for you.

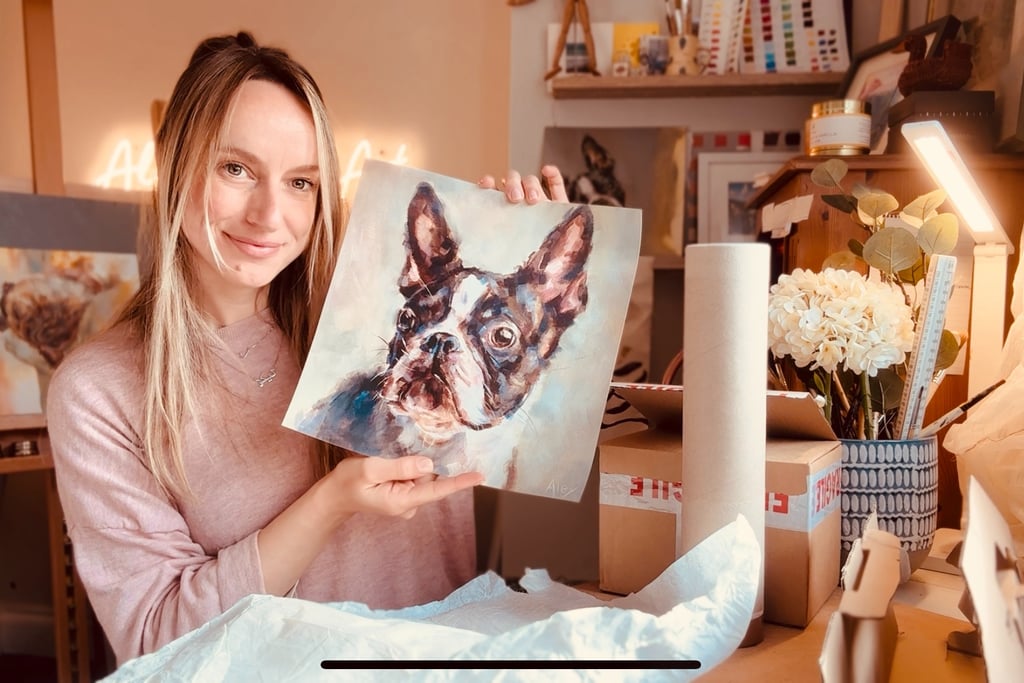
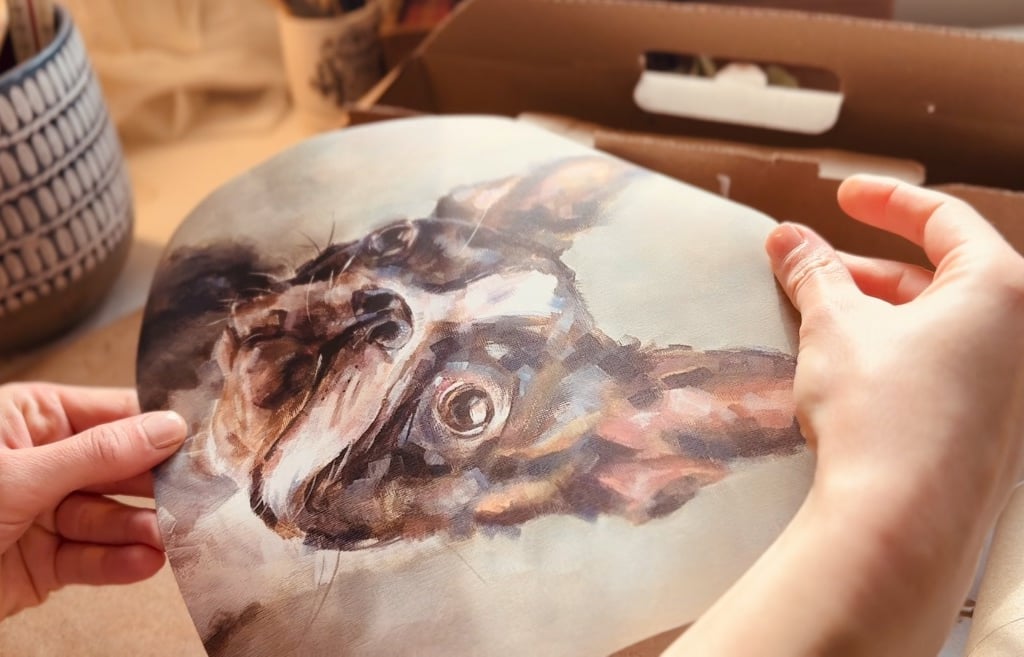
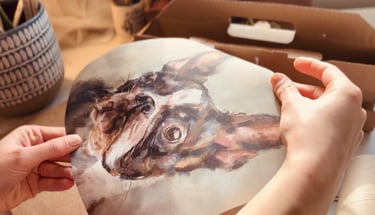
I ordered a sample of a print recently through Gelato and I was so happy with the quality of the print, the packaging and the paper it was used to print on. It has really given me the confidence to create more prints with Gelato.
I’m going to share with you the whole process:
How I digitize my artwork - photograph and edit
How I order test prints
and finally how I link these prints to my Etsy shop.
If you want to try Gelato you can sign up for free and get 50% off your first order - sign up here
If you're a painter like me who works with paper and canvas rather than creating art digitally, it's important to create high-quality digital files of your work.
Paper-based artwork can usually fit on a flatbed scanner, which gives you sharp, color-accurate images with minimal distortion. This is ideal for smaller pieces.
Canvas paintings, especially larger ones, are best digitized by photographing them.
Digitizing Your Artwork
Scanning Your Artwork
When scanning your paper-based artwork, aim for the highest quality possible — it really pays off in the final result.
📄 Scan at a Minimum of 300 DPI: This is the standard resolution for printing and archiving. It ensures your artwork retains detail and sharpness.
🖼️ Scanners Capture More Detail Than Photos: Scanning generally provides better resolution and color accuracy than photographing your art — especially when it comes to works on paper.
💰 Flatbed Scanners Can Be Expensive: Large-format flatbed scanners are often costly and not accessible to everyone. Check if your local library, university, or a friend’s office might have one you can use.
💾 Transfer and Edit on a Computer: Once you've scanned or photographed your work, transfer it to your computer for final edits

Edit Your Photos for Dimensions and Colour
Photographing Your Artwork
When taking a photograph there are things you can do to ensure the photo turns out the best quality it can be. Take the photo in a well-lit room during day time so you can get lots of natural light. If you do need to use artificial light, use lightbulbs that mimic daylight by producing white light instead of yellowish/orange light.
When photographing your canvas paintings, keep these key tips in mind to get the best quality digital image:
📏 Shoot Straight-On: Position your camera directly in front of the artwork. Make sure the frame is as square as possible to avoid distortion.
📸 Use a Tripod: If you don’t have steady hands or a level surface, use a tripod to keep the shot stable and sharp.
🔍 Don’t Zoom In: Avoid using digital zoom to fill the frame. Instead, physically move the camera closer to your artwork. This preserves image quality and sharpness.
💡 Watch for Glare and Shadows: If you’re planning to crop the photo, ensure there are no strong glares or shadows falling on the artwork. Soft, even lighting is key.
I use Affinity Photo for most of my photo editing. It’s a fantastic choice for artists because:
💵 It’s a one-time payment — no ongoing subscription
💻 You own the software forever
🎨 It offers powerful editing tools comparable to Photoshop, making it ideal for adjusting scanned or photographed artwork.
If you don’t have Affinity Photo or Photoshop, here are some great free alternatives:
GIMP (GNU Image Manipulation Program)
A powerful, open-source editor with advanced tools. It has a bit of a learning curve but is highly customizable.Photopea
A browser-based editor that mimics Photoshop’s interface. Great for quick edits and works directly in your browser — no download needed.Krita
Originally designed for digital painting, Krita also offers solid image editing features. It’s free, open-source, and artist-friendly.Darktable
Best for editing photos (similar to Lightroom). Useful if you're doing batch edits or working with RAW files from a DSLR camera.
Here’s a before-and-after photo of one of my paintings — the before image was taken in natural daylight, yet the colors still look dull and darker than they appear in real life.

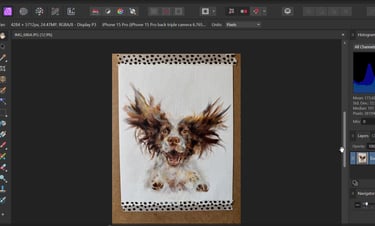

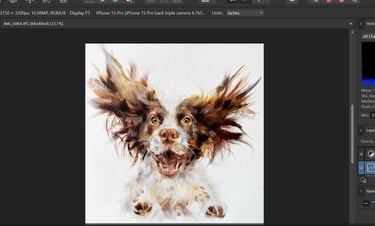
Even with good lighting, cameras often fail to capture the full vibrancy and depth of painted artwork. That’s why post-processing is essential. With some careful editing and color correction, I’m able to bring the digital version of the painting much closer to how it looks in person. Next, I’ll walk you through my editing process.
Crop Your Image
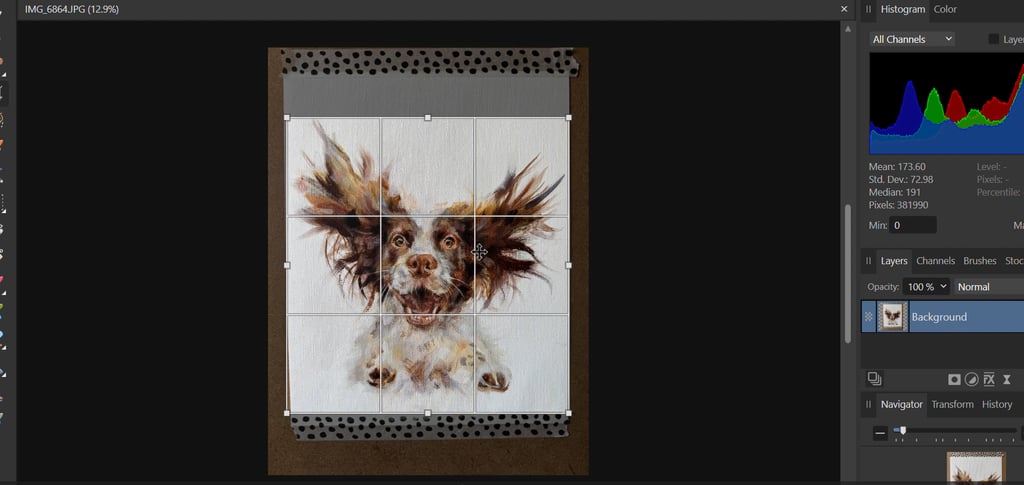
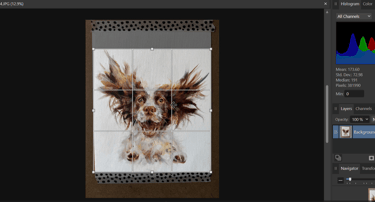
Before making any color adjustments, start by cropping your image to your desired aspect ratio. In this case, I’m planning to turn this painting into a square print.
Here’s how to do it in Affinity Photo:
🛠️ Select the Crop Tool
Go to the toolbar on the left side of your screen and click on the Crop Tool (it looks like two overlapping right angles).🔲 Set Aspect Ratio
In the top context toolbar, set the aspect ratio to 1:1 (square)🖼️ Adjust the Frame
Drag the crop box to position it exactly where you want. Make sure it captures the most important parts of your painting✅ Apply the Crop
Once you're happy with the framing, press Enter or click the checkmark to apply the crop.
This helps set up your image perfectly for a clean, professional-looking square print.
Resize Your Image
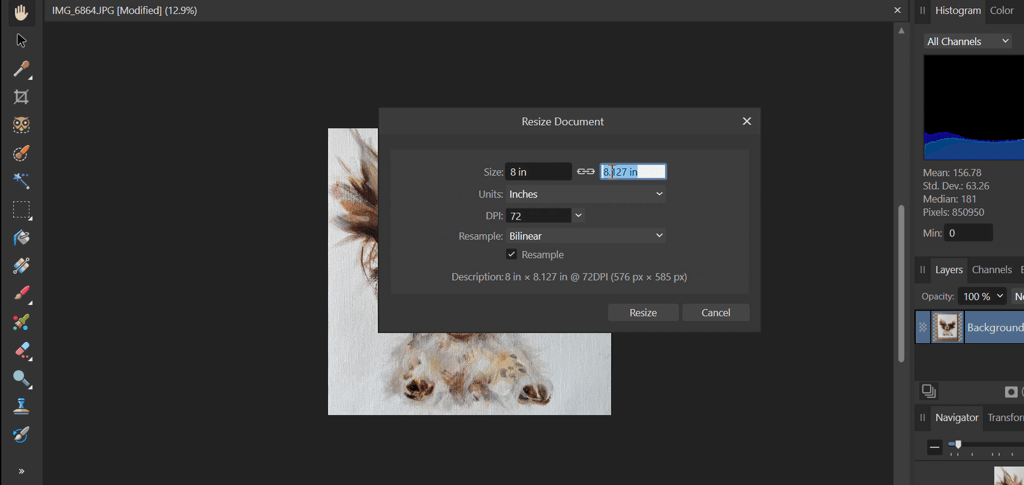
Now that your artwork is cropped, it’s time to resize it to match the actual size of your physical piece. This ensures your proportions are correct — especially important if you're planning to print.
For example, my original artwork is 8×8 inches, so I’ll resize the image to exactly that.
Here’s how to do it in Affinity Photo:
🧭 Go to: Document > Resize Document
(You can also use the shortcut Alt + Cmd/Ctrl + I.)📐 Set the dimensions
Change the Width and Height to match your original piece (e.g., 8 x 8 inches).
Make sure the DPI (dots per inch) is set to 300 for high print quality.
✅ Click OK
Your image is now resized to reflect the true dimensions of your artwork.
This step helps keep your digital file as close to your original painting as possible in both proportion and scale — perfect for accurate prints.

Once your image is cropped and resized, it’s time to bring your artwork to life with some tonal adjustments. The goal is to match your digital image as closely as possible to how your painting looks in real life.
Brightness/Contrast
Go to Layer > New Adjustment Layer > Brightness/Contrast
Use the Brightness slider to lift any dullness from your photo.
I usually increase brightness to around 10-30, depending on the lighting conditions when the photo was taken.
You can also fine-tune the Contrast if needed.
Click OK once you’re satisfied with the changes.
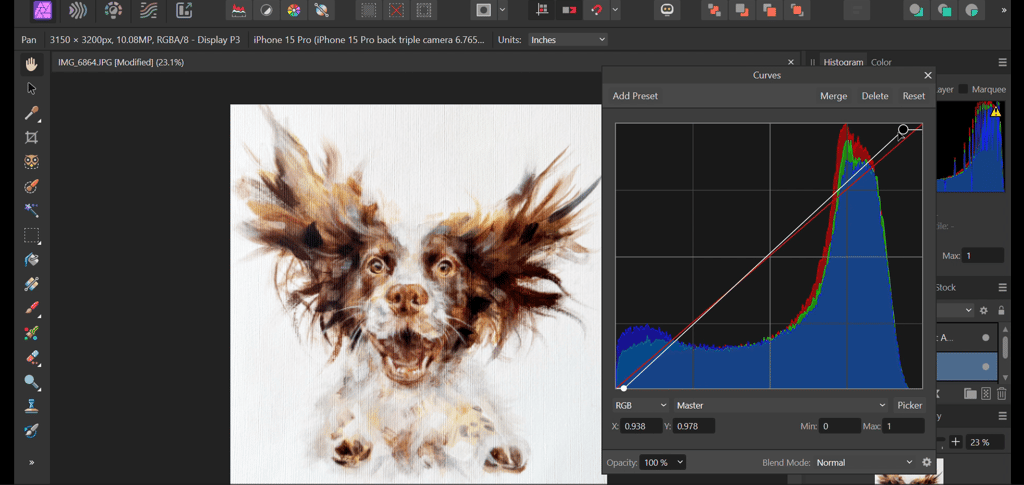
Curves Adjustment
Go to Layer > New Adjustment Layer > Curves
The Curves tool gives you more control over shadows, midtones, and highlights.
Drag the top right point slightly upward to brighten the whites.
Pull the bottom left point downward to deepen the blacks.
Watch the preview as you adjust — your goal is to make the image on your screen reflect the true colors and contrast of your actual painting.
Click OK when done.
Optional Adjustments
If needed, you can also experiment with:
Levels – to adjust tones more precisely
White Balance/Temperature – to remove color tints
Saturation & Vibrance – to enhance or tone down colors
Exposure – if your photo is under- or over-exposed
💡 Tip: Every photo is different. Your edits will depend on your lighting, camera settings, and even your art medium. I usually find that adjusting just the Brightness and Curves is enough when my lighting is good — but don’t be afraid to explore and find what works best for your setup.
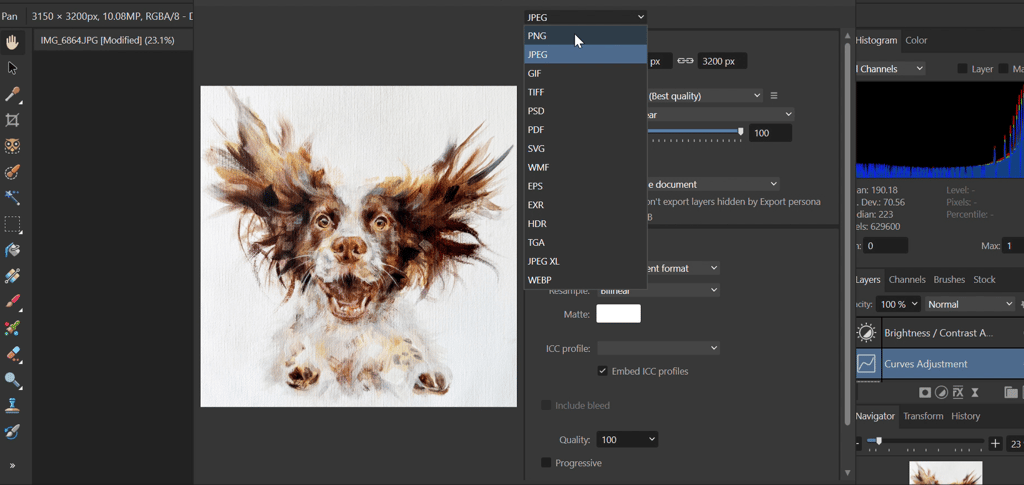
Save Your Image
Once you’re happy with the edits, it’s time to save your artwork in the right format for printing.
If you’re printing through a platform like Gelato, you can upload files directly in high-resolution formats. Gelato accepts PDFs and image files like JPEG.
I recommend saving your file in two formats:
TIFF (.tif) – This is ideal for archiving and printing because:
It uses no compression, meaning no loss of quality.
It preserves all the fine details and color data.
Best used for high-resolution prints or future editing.
JPEG (.jpg) – Save a version with minimal compression:
This format is widely accepted and very web-friendly.
Ideal for uploading to websites, sharing via email, or posting on social media.
Choose the highest quality setting when exporting to keep as much detail as possible.
💡 Tip: Saving in both TIFF and JPEG gives you flexibility — one for professional use and one for fast sharing.
The best way to ensure your printed artwork matches your original piece in terms of color, contrast, and overall quality is to order a test print.
If you’re using Gelato, they make it super easy — and if you sign up through my referral link, you’ll get 50% off your first sample order, which is perfect for trying out a few test prints without breaking the bank.
Why Test Prints Matter
🎨 Monitors and printers interpret color differently. A test print allows you to:
See how your digital file translates to paper or canvas
Check for color shifts, dullness, or overexposure
Make final tweaks before offering prints for sale
Create a Test Print
Set Up Listings in Your Online Shop
Once you're happy with your test print, it’s time to share your work with the world and start selling! If you're using Etsy and printing through Gelato, setting up your listings is simple:
Connect Gelato to Your Etsy Shop
Log in to your Gelato account
Go to Stores and click Connect a store
Choose Etsy, follow the prompts, and authorize the connection
Upload Your Final Print Files
Select the product you'd like to sell (e.g., poster, framed print, canvas)
Upload your high-res JPEG or TIFF file
Create a Product Listing
Enter your title, description, tags, and pricing
Choose the sizes and paper types you want to offer
Gelato will automatically sync the listing to your Etsy store
Set Shipping & Fulfillment Options
Gelato handles printing and shipping directly to your customers
This means no inventory or manual packaging on your end
Here’s my Etsy listing where you can see how I’ve set it up for my Boston Terrier print.