How to Paint Black Fur in Acrylics (Step-by-Step Guide) | Alex Goddard Art
Black fur is one of the trickiest things to paint — but it doesn't have to be. Learn the exact steps I use to paint realistic black dogs in acrylics, including colour mixing tips and how to build depth.
PAINTING TUTORIALS
3/24/20265 min read

Black animals are notoriously hard to paint. It’s one of the most common struggles I hear from artists—everything either turns out too flat, too muddy, or just doesn’t look quite right.
But here’s the good news:
👉 Black isn’t just black.
Once you understand how to see and use the colours hidden within it, painting black dogs becomes much easier—and actually really enjoyable.
If you're building up your skills because you'd like to take on black pet portrait commissions, you can find out more about how I work and my commission prices here.
In this guide I'll walk you through the exact steps I use, from palette setup to final highlights.
Why Black Fur Is So Difficult to Paint
The biggest mistake beginners make is reaching straight for black paint.
The problem?
Black straight from the tube has no life to it. It flattens everything and removes all depth from your painting.
In reality, black fur is made up of:
Warm tones (browns, reds)
Cool tones (blues, greys)
Subtle shifts in light and shadow
Learning to see these is the key to creating a realistic result.
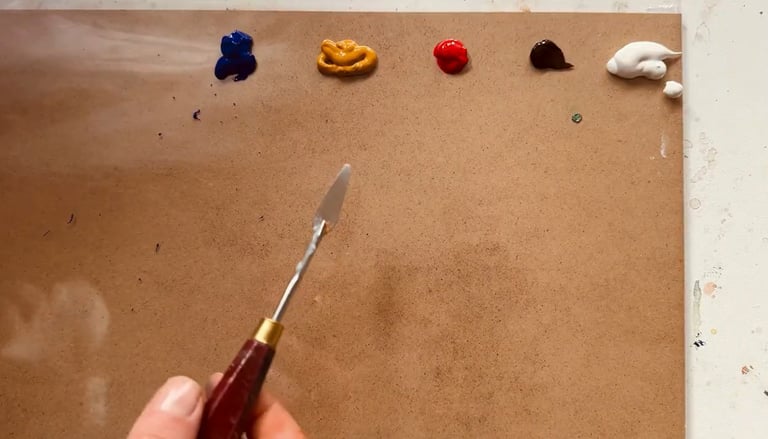
Step 1: Set Up Your Palette
If you’re just starting out, I always recommend working with a limited number of paints. It keeps things simple and makes colour mixing much easier to understand.
Before I begin, I prepare my palette by squeezing out all the colours I’ll need so everything is ready to go.
When painting a black animal, I typically use:
A brown earth tone (usually burnt umber)
One red
One blue
One yellow (usually yellow ochre)
And of course, titanium white—which I always use in a larger quantity than the other colours.
Having your paints set up and ready like this makes the whole process smoother and helps you stay focused on the painting itself.
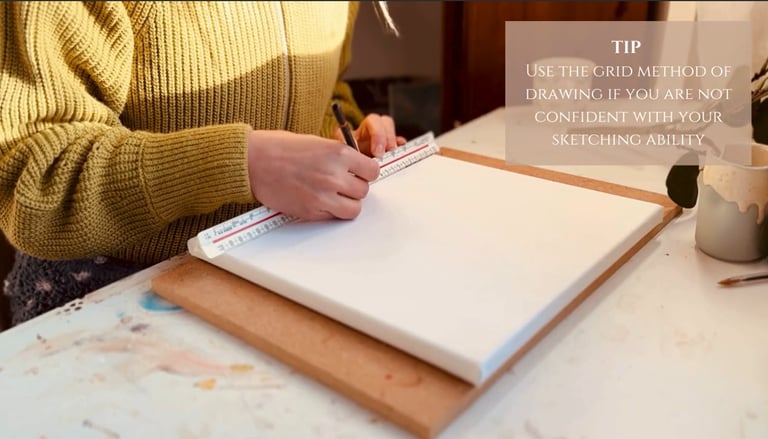
Step 2: Start with a Sketch
Once you have your palette ready, it’s time to sketch your subject onto the canvas.
If you’re not confident drawing freehand, don’t worry—there are simple methods you can use to get an accurate outline. Techniques like the carbon transfer method or the grid method are great options and make the process much easier.
Using one of these approaches will help you achieve a solid, well-proportioned sketch, giving you a strong foundation for your painting.
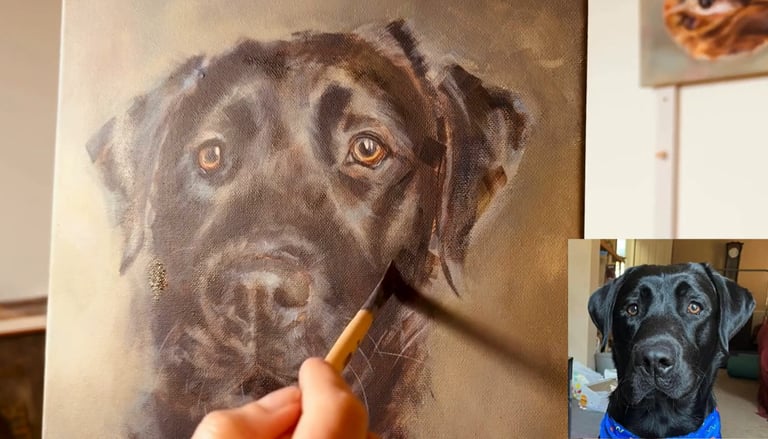
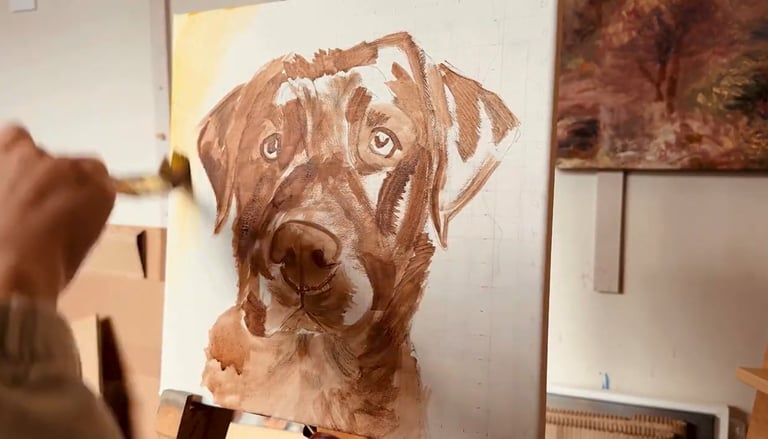
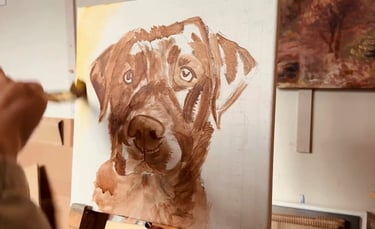
Step 3: The Underpainting
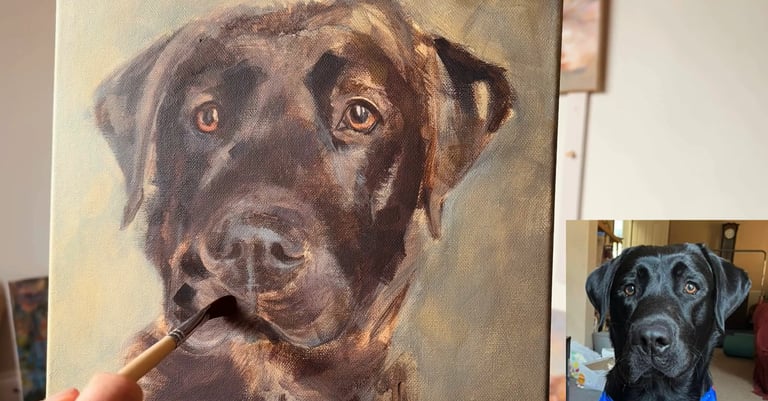
Now that you have your sketch, it’s time to add paint! Using a medium flat or round brush, begin with with the Burnt Umber and use it to map the outline of the Labrador and the darker arears. This is going to be the foundation of your painting.
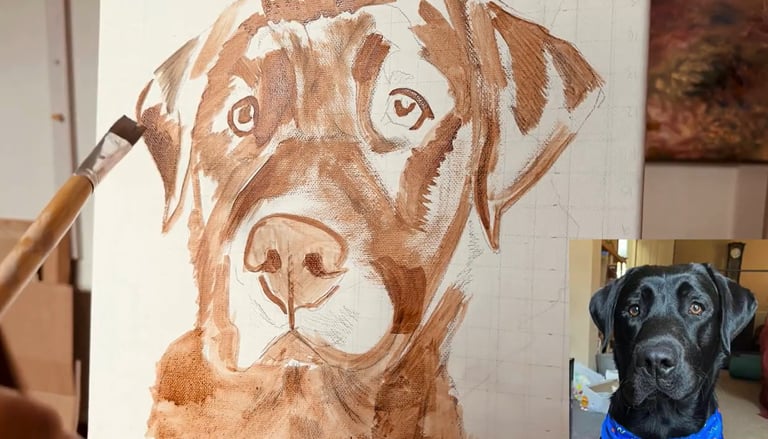
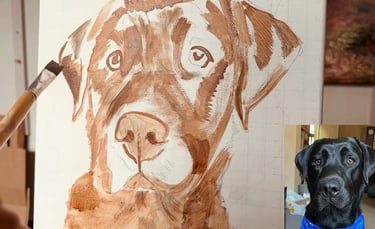
Once that's down, add a wash of Yellow Ochre over the whole canvas to warm things up. Yellow Ochre is my go-to for an underpainting wash — it gives the whole piece a warm base that shows through the layers above and stops the finished painting from feeling cold.
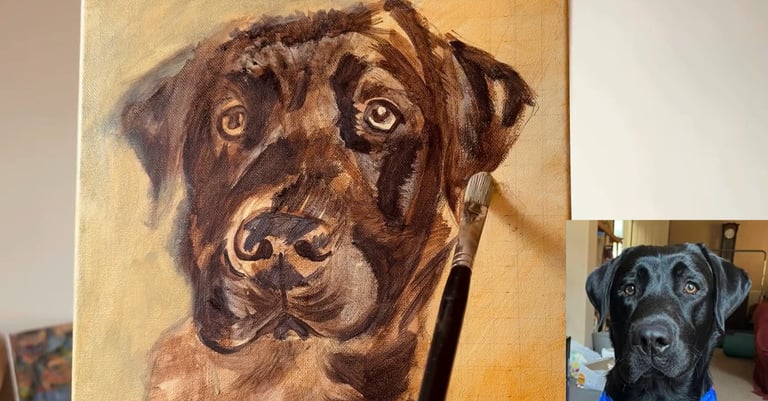
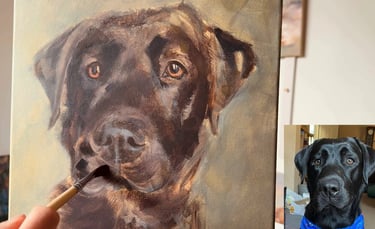
Step 4: Don’t Paint “Black” — Build It
This is the most important step, and the one that makes the biggest difference.
Rather than using black paint, mix your own dark tones by combining:
Brown + blue
Red + blue
Complementary colours opposite each other on the colour wheel
These combinations give you what I call colourful blacks — rich, deep darks that have life in them rather than the flat, cool deadness of tube black. This is what gives your painting depth.
This is also a good point to add your first background layer. I love using a green mix for backgrounds — it complements the warm tones in dark fur beautifully.
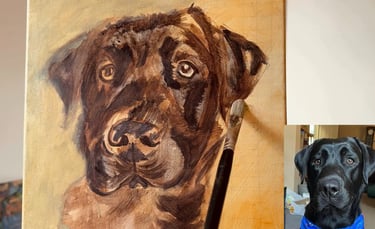
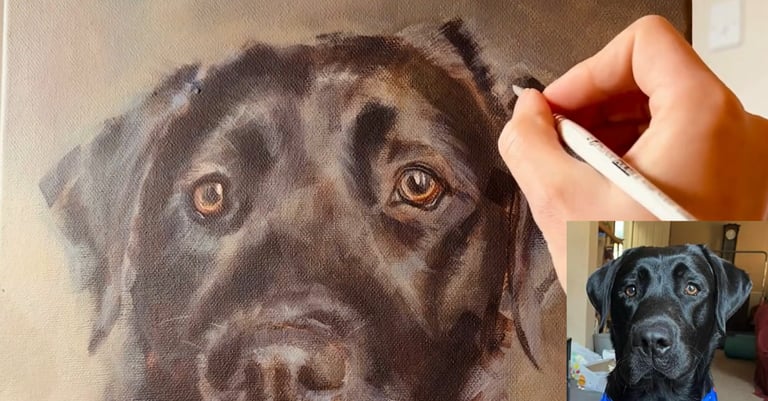
Step 5: Build Up Layers Gradually
Next up you want to mix some colourful greys. Start adding white to your mixes to lighten them up. Remember this rule:
to cool your mixes add blue
to warm your mixes add red or yellow
to lighten mixes add white
You want to be using a mixture of cool and warm tones to create depth and interest in your painting. I would also suggest working dark to light so start layering your daker greys over your blacks and then work up to your lighter greys for the highlight areas.
Black fur works best when built up in layers and using glazes and thin layers helps create depth without overworking the painting.
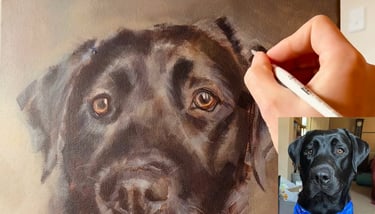
Step 6: Final Details and Highlights
At this point step back and evaluate your work. Are there areas that need more contrast? Add a touch of pure white for those highlights or deep black to intensify the shadows.
Also work on the eyes and nose area to add more detail and don't forget to use a finer detail brush to add some whiskers in here and there. You don't want to be adding every individual hair - unless of course you are a photo realist painter! But adding one or two here and there will create the illusion of fur.
Step 7: Final Thoughts
Once you are satisfied with your black Labrador painting, let it dry completely. You might consider using a spray varnish once it has dried to protect your artwork and give it a nice finish.
And there you have it! Follow these steps, and you’ll have a beautiful acrylic painting of a black Labrador to cherish or give as a gift.
Want to See the Full Process in Real Time?
If you’d like to follow along and see exactly how I paint a black Labrador from start to finish, I’ve created a full step-by-step tutorial.
In it, I walk you through:
The full painting process in real time
How to mix colours for black fur
How to build depth and detail without overcomplicating things
👉 Get the Black Fur Tutorial — £15
Or if you'd like to grab all three of my pet portrait tutorials — including Pet Portrait and Golden Retriever — you can get the full bundle for £32: