How to Paint Your Pet in Acrylics: A Beginner’s Guide
PAINTING TUTORIALS
3/24/20264 min read

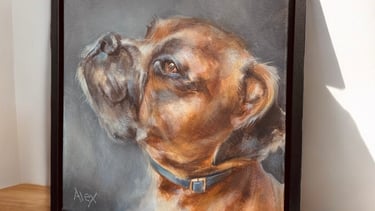
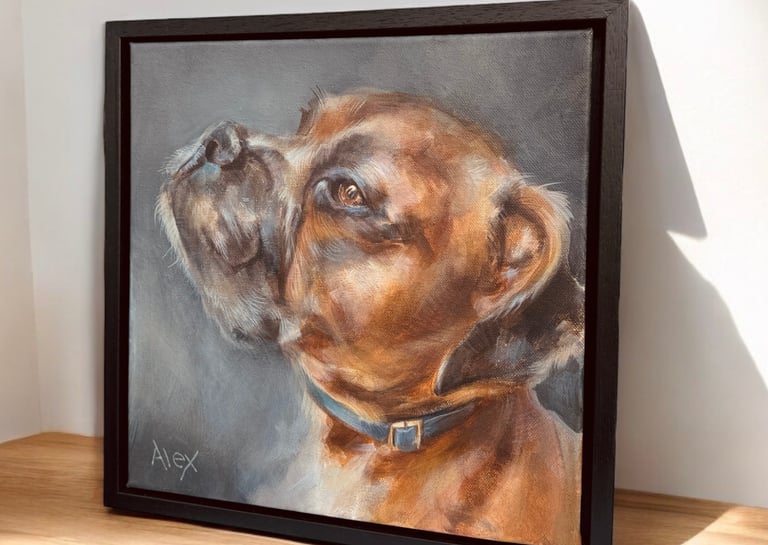
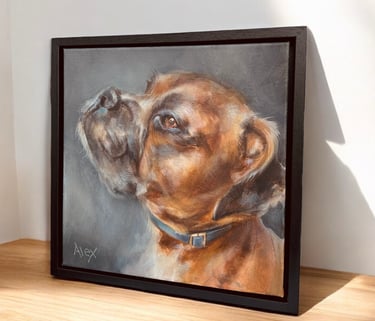
Hello! I’m Alex Goddard, an acrylic painter specialising in pet and animal portraits. Over the years, I’ve painted hundreds of pets—from Labradors and Boxers to Bulldogs and even rabbits!
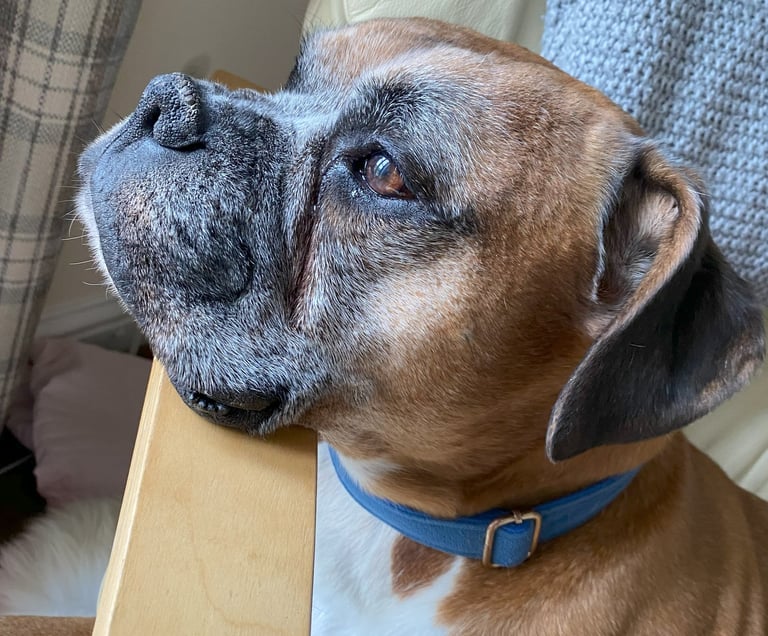
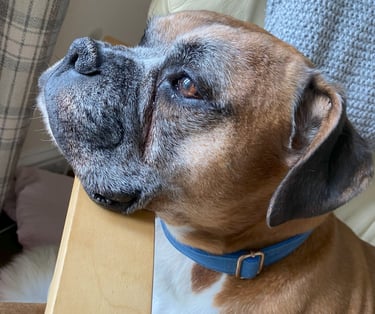
I want to show you how you can create your very own pet portrait, even if you’ve never painted before. In my beginner-friendly tutorial, I take you step by step from a reference photo to a finished painting, teaching you the fundamentals you can use for any animal portrait.
Getting Started
You don’t need fancy materials to start. For this tutorial, I recommend:
Basic sketching supplies (pencil, ruler, eraser)
A few brushes (large flat, medium filbert, small detail)
A simple acrylic palette (red, yellow, blue, brown, white)
Canvas or canvas paper
💡 Tip: Acrylics dry fast, so layering is easy—even if you make mistakes!
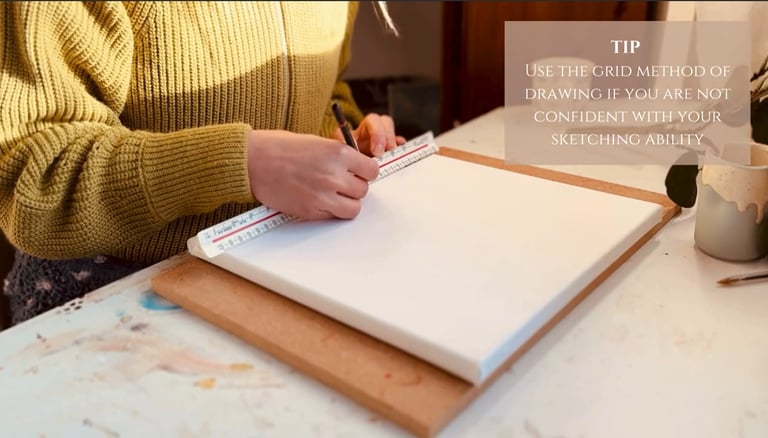
Step 2: Start with a Sketch
Once you have your materials ready, it’s time to sketch your photo reference onto the canvas.
If you’re not confident drawing freehand, don’t worry—there are simple methods you can use to get an accurate outline. Techniques like the carbon transfer method or the grid method are great options and make the process much easier.
Using one of these approaches will help you achieve a solid, well-proportioned sketch, giving you a strong foundation for your painting.
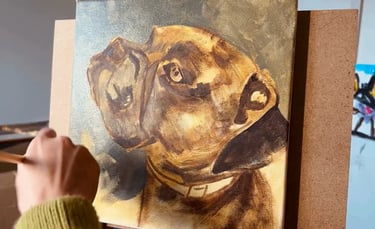
Step 3: The Underpainting
Begin by sketching your outline using a diluted burnt umber wash.
Focus on:
Dark areas
Shadows
Key shapes
Acrylic paint dries quickly, which makes it perfect for layering.
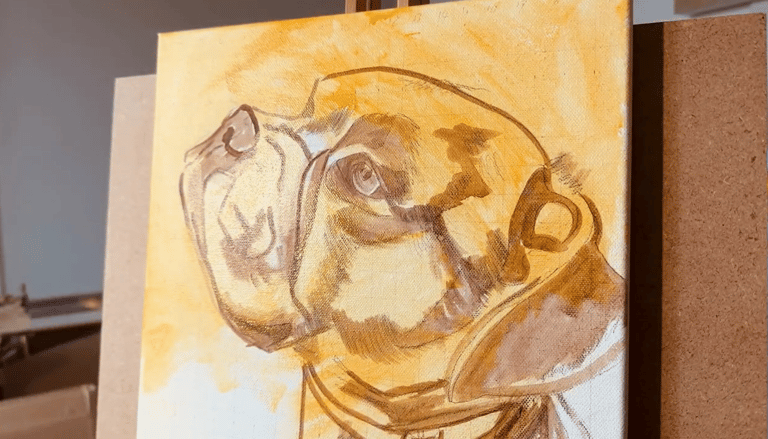

Add a wash of Yellow Ochre over the whole canvas to warm up the underpainting. Yellow Ochre is my favoured colour for a wash.
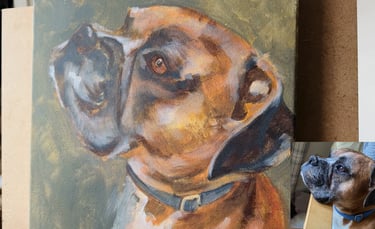
Step 4: Building Layers & Values
This is where your painting starts to come to life.
Think in terms of:
Dark tones
Mid tones
Light tones
Key tips:
Start with dark areas
Add mid tones next
Finish with highlights
💡 Don’t focus on details yet—think in shapes and values instead.
A helpful mindset:
Every painting goes through an “ugly stage.” Keep going—this is completely normal.
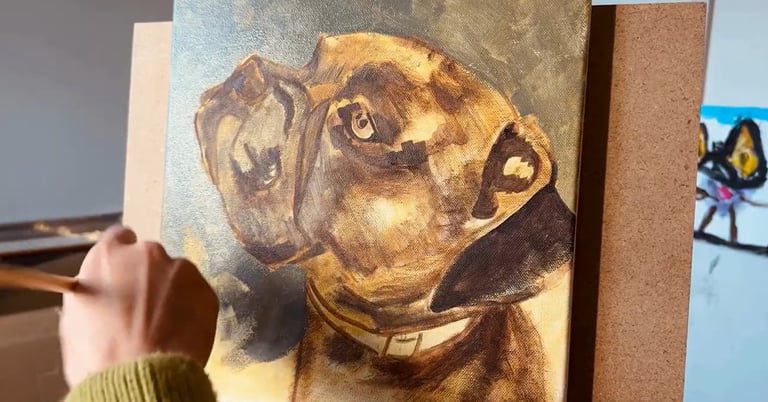
Now is a good time to add your first background layer in a colour of your choice. I love to make a green colour for my backgrounds.
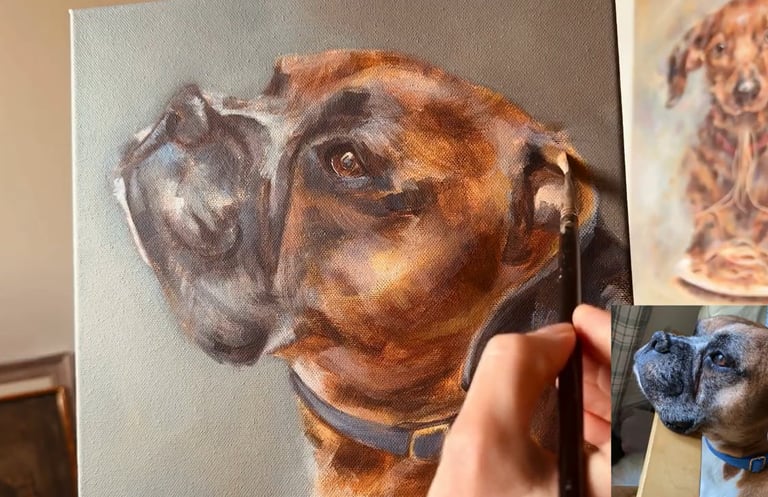
Step 5: Adding Detail and Texture
Now it’s time to refine your painting.
Focus on:
Eyes and highlights
Whiskers
Fur texture
You don’t need to paint every hair—just suggest texture with a few well-placed strokes.

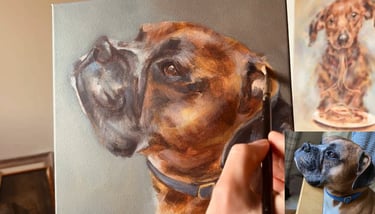
Step 6: Final Touches
At this point step back and evaluate your work. Are there areas that need more contrast? Add a touch of pure white for those highlights or darker colour to intensify the shadows.
Also work on the eyes and nose area to add more detail and don't forget to use a finer detail brush to add some whiskers in here and there. You don't want to be adding every individual hair - unless of course you are a photo realist painter! But adding one or two here and there will create the illusion of fur.
Step 7: Final Thoughts
Once you are satisfied with your painting, let it dry completely. You might consider using a spray varnish once it has dried to protect your artwork and give it a nice finish.
And there you have it! Follow these steps, and you’ll have a beautiful acrylic painting to cherish or give as a gift.
Want to See the Full Process Step by Step?
If you’d like to follow along and see exactly how I paint this Boxer from start to finish, I’ve created a full step-by-step tutorial.
In it, I walk you through:
The full painting process in real time
How to mix colours
How to build depth and detail without overcomplicating things
👉 You can get the full tutorial here
Painting black animals can feel intimidating at first—but with the right approach, it becomes much more manageable.
Take it step by step, keep your palette simple, and focus on light rather than detail.
And most importantly—enjoy the process.
Ready to Try It Yourself?
If you’re ready to put this into practice and create your own black Labrador painting, you can follow along with my full tutorial here: